Blog
How do I use the new Shopify Metafields? - Day 1
With another annual Shopify Unite in the bag, a lot of cool new features were unveiled. One of those features is the new visual metafields management in the Admin UI.
With another annual Shopify Unite in the bag, a lot of cool new features were unveiled. One of those features is the new visual metafields management in the Admin UI.


July 2nd, 2021
With another annual Shopify Unite in the bag, a lot of cool new features were unveiled. One of those features is the new visual metafields management in the Admin UI.

With another annual Shopify Unite in the bag, a lot of cool new features were unveiled. One of those features is the new visual metafields management in the Admin UI. When I heard about it, I couldn’t wait to give it try.
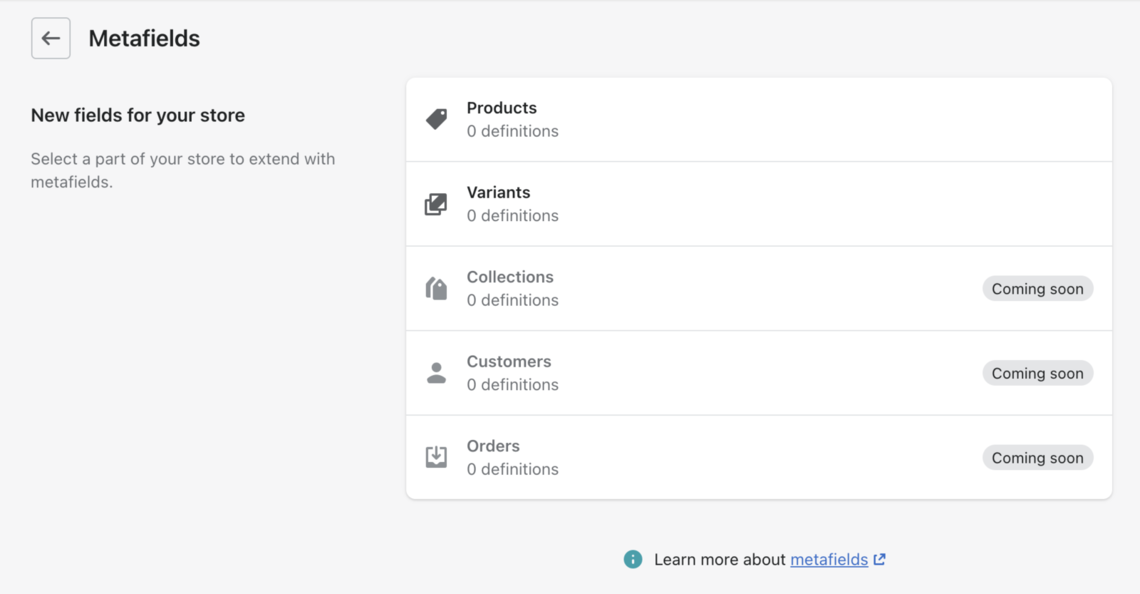
The new integration of the new Shopify Metafields interface allows you to easily add custom fields to your product page or variants with customers, collections and upcoming orders.
When doing web design work for Shopify store owners, we often receive requests to add extra data fields to products, which up until now, has been difficult to add and maintain. I would have to take advantage of the product metafields attributes by coding the value into the product using scripts or installing a third party app to visually manage the fields from inside the client’s app. This makes the process more difficult and becomes an issue during the project handover to the client. There’s a large learning curve with using a third party app in this situation which often frustrated the end user managing the product catalog.
So when I heard about the new metafields feature, I dove in. In order to create a new metafield on a product, you have to go to the settings section in the admin. Its a new feature right in the main settings menu. From there, you can select product or variants to add a new metafield.
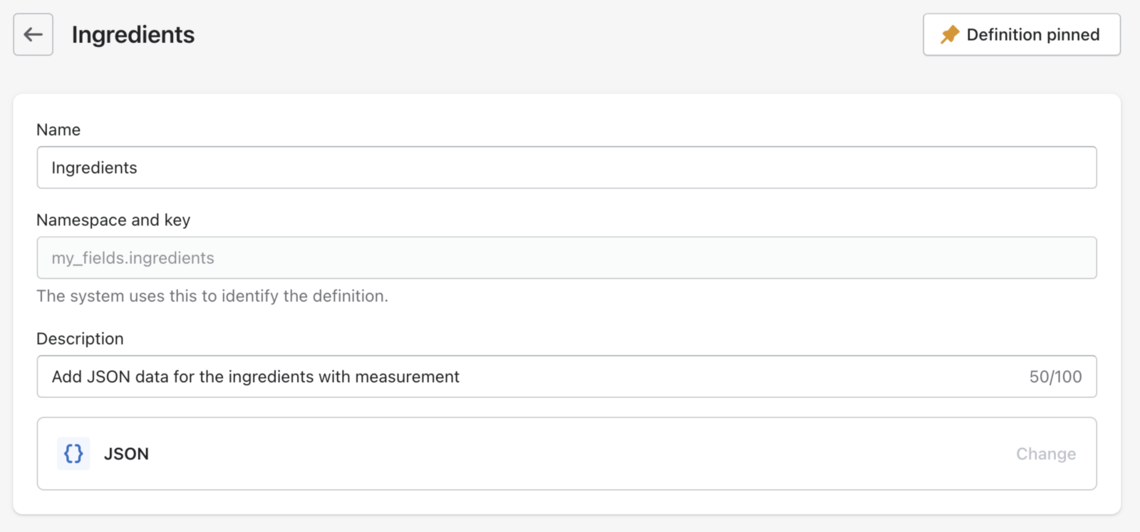
There are many options that can be selected when creating the data input field from simple text all the way up to JSON data.
Shopify Metafield Input Options
Date and time
Color
JSON
Measurements
Number Field
Reference
File
Text
True or False
URL
This is huge! With the selected field, you know the value that you’re looking to store will be uniform from product to product. For example, you can use a file input to upload a size chart for your fashion line, measurements for your box supply store that previously had to be added into the description or ingredients to your meal delivery store. The JSON object allows me to add new data easily, plus it has an extra formatting tool to make sure it’s inputted correctly.
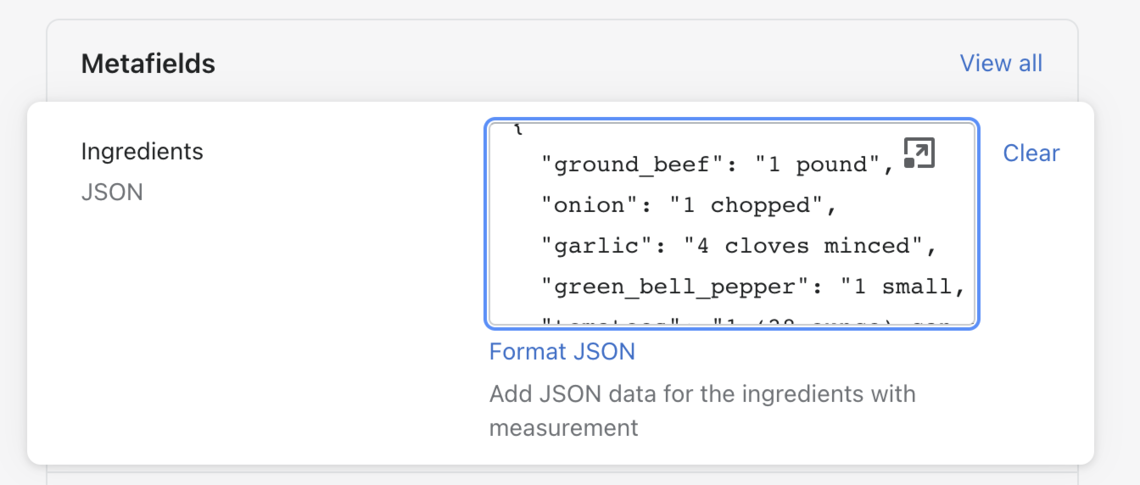
When creating a new field, it’s simple and intuitive to name that field and give it a description. You can even change the namespace if you have admin related fields you want to use to control the theme or set specific ones to show the customer. Once you create that field, it automatically shows up on every product page or variant. No more having to deal with a product and having to remember if you set the metafield value or not, it’s right there on the product page!
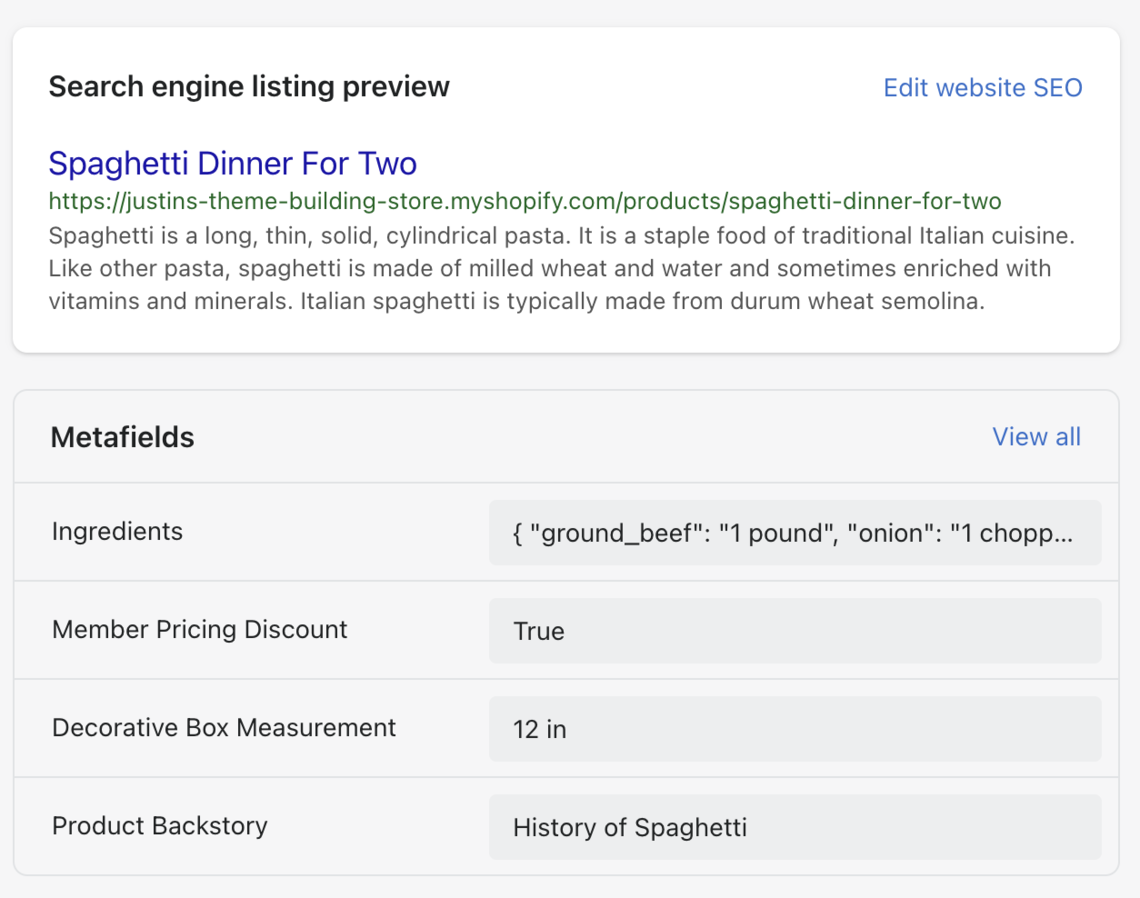
Now that the input is right on the product page, you can clearly see what information needs to be added and if has been entered yet. As an out of the box feature, you might assume that you can add new metafields to a product or variant and they will appear in your theme. This isn’t the case unless the theme is written that way. I’m confident that this new feature will be adapted quickly and new themes being developed will integrate this new feature and make it easy for new users to add even more to their stores. If you want to add custom data to your site, working with a theme developer is the best route to success.
That's it for day one. Check out Metafields Day 2 for some quick insight into metafields theme implementation.
Are you looking for help with your Shopify setup? We can help: